Prime and Prep
Here are some tips on how to prime an n Ibanez JEM style guitar replacement body. This is project I'm doing for Dan MH as an example. Dan's project is Swamp Ash. I had that one started when Dan took over the project, so the first few steps are with a rough cut basswood guitar body as an example.
For a rough body cut from the CNC, the first step is to sand out the sides. I use a handheld orbital sander, then some pure hand sanding.
I’ll use some thin CA (superglue) for any grooves that look like they run on more than the surface. This is the product I use. I buy in bulk, but smaller cans are available.

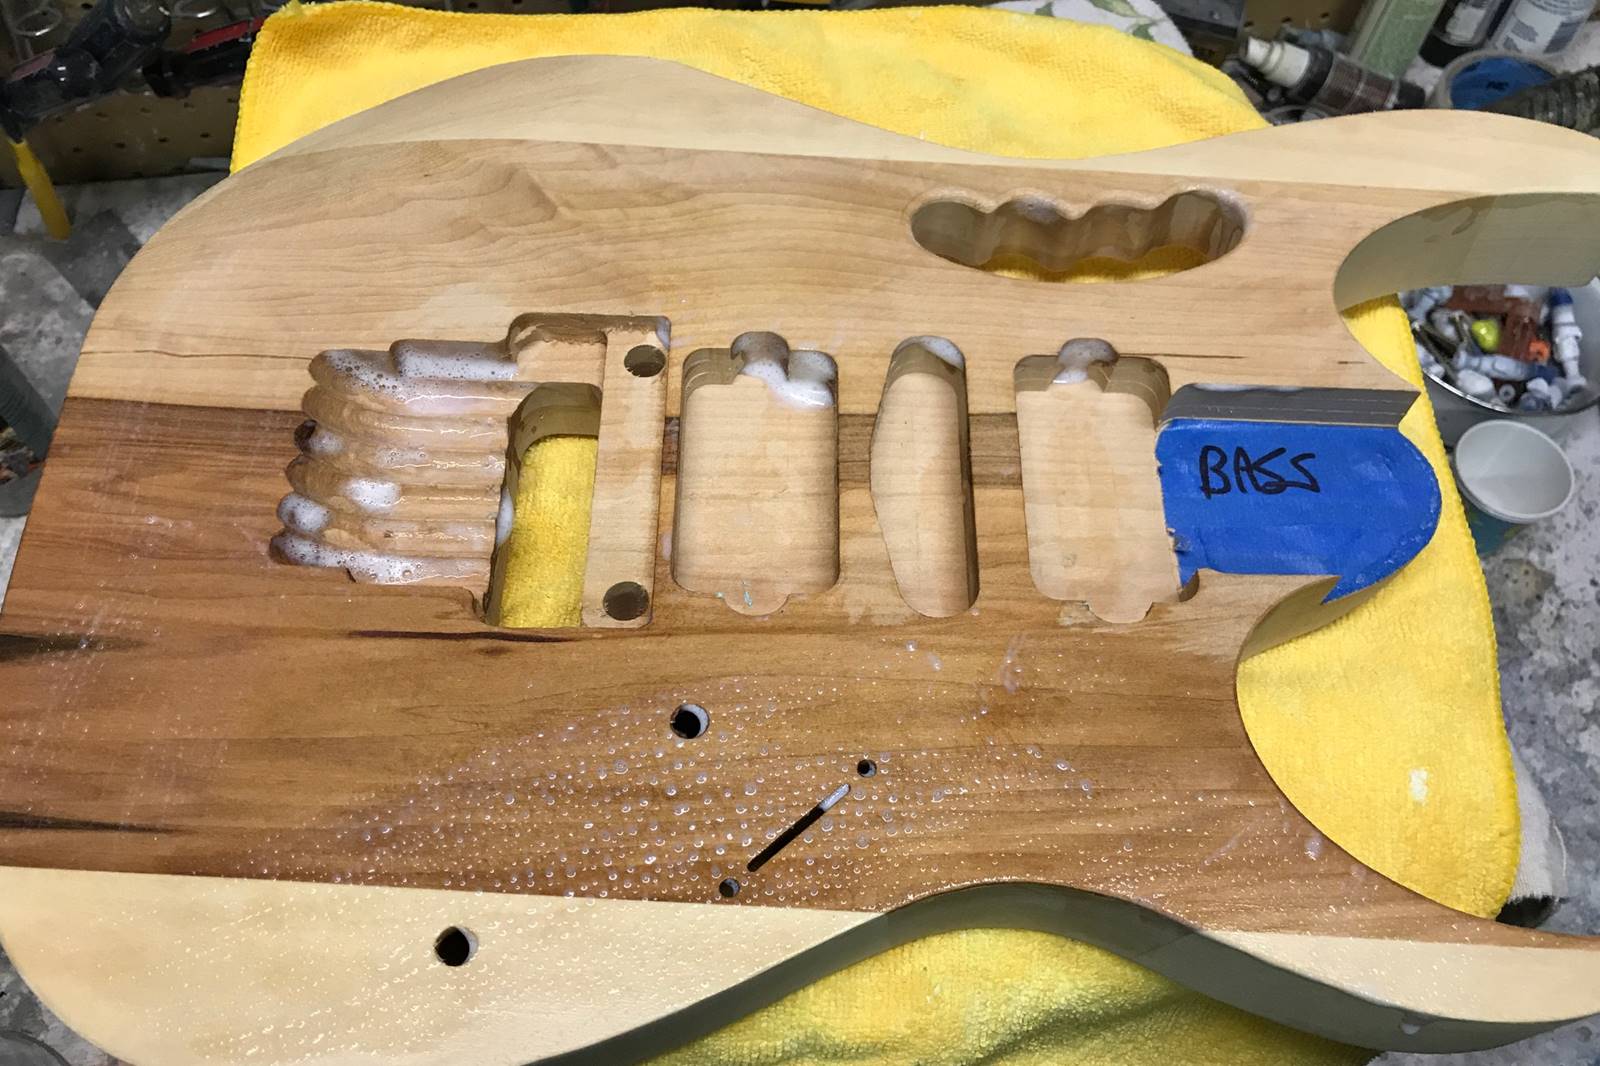
I’ll also put CA on the back of the shallow part of the control cavity, where the switch goes. Then in the back of the control cavities and in the switch holes and on the narrow parts of the front by the trem. These are areas that I found tend to bubble up when using a buffing wheel (during the clear coat steps). I think the CA keeps the water from the wet sand steps from soaking in. Whatever the theory, it works. Here are some pictures after the CA dries.


Then I’ll use some grain sealer applied with a brush. I use a minwax product, but I'm sure there are others. The body on the left is after brushing. I try to get as much as I can so it soaks in. Then I use compressed air to blow the pooled up spots before it dries. The one on the right is after the air. I usually let it dry, then do a very light hit with the orbital, then apply a second coat of sealer. I'll do some touch up sanding of the edges at each step. One customer suggested that his paint guy could "easily" apply three coats fro Basswood. Two seems to work, but three wouldn't hurt.

Here is a can of the product. This is a gallon, but they sell it by the quart too.

Swamp Ash has a strong grain pattern. Alder and Basswood are more forgiving, so less work overall. For a painted body - either with swirl paint or with a solid color - the grain needs to be smooth.
I use two thick coats of primer from a spray gun. The first is usually epoxy based. This is a produce I used recently.

So far, any Epoxy based primer seems to work. I spray from a gun so I can do 3 bodies quicky. The spray gun helps get a lot of paint on all at once. For a one off, primer from a can works too. I tried doing 5 bodies at a time, but that really pushes my arm. Holding a guitar on a stick with one hand and spraying with the other is a bit of a workout.
Here is a picture after the epoxy primer:

The second prime step is a high fill automotive primer. This is the product I've used for a bit.

I usually spray this right after the epoxy. Then they both dry at the same time. With all these paint products, they vent off as they dry, so too thick all at once and they paint will crack. By the time I cycle 3 bodies. I can usually safely do two passes without an issue If it does crack, no worries, this is primer, so just sand it out. Here is a picture showing one guitar body with the epoxy primer and one with the high fill over the epoxy.

This is a picture after the Ash body after the two initial primer steps:

I originally started this blog here because Dan's body already had the first steps done Then I wrote the steps getting to this point as I ran the next set of three bodies. I re-wrote a few things to make it all fit together.
Next, I spray some grey primer from a can, then wet sand with 220 grit sandpaper. Here are a few shots:


You can see the grain filled in by the darker grey. The lighter grey is the base. I'll repeat this a couple of times. Then eventually turn to white primer. Alternating colors highlights the grooves and helps target the sanding.
This picture shows the body after a thick coat of grey primer. You can still see some of the grain, but a lot has been filled in.
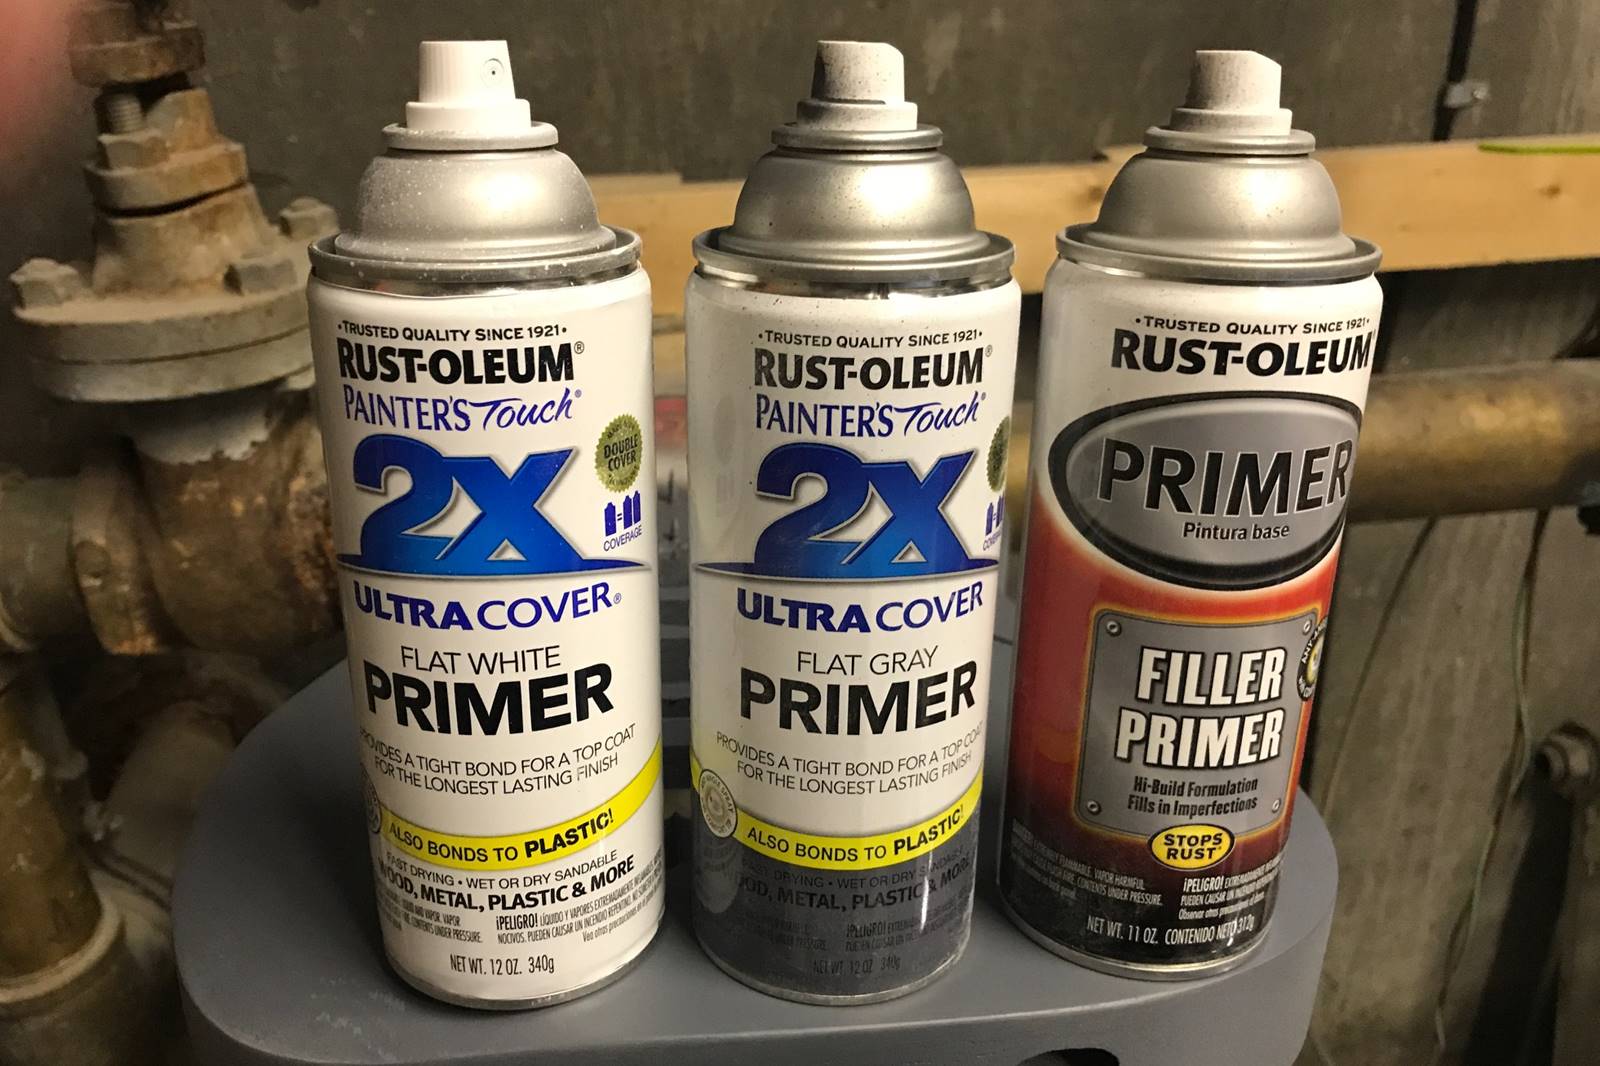
I use cans of Rustolium Primer. The "2x" really is the good stuff. The manufacturer puts a lot of research into these paints. You can spray thick, but still not get runs. The "filler primer" seeps into the cracks a bit better. I have had some trouble with the nozzles clogging on the filler primer. I ran some today and it really was decent. I'm going to order another batch to see. Sometimes Home Depot leaves the paint out in the cold before you even buy it. That messes up the consistency.
Sometimes I just feel like spraying super heavy. But paint is a balancing act - sort of like playing guitar and life in general. More is not always better! If anyone thinks the best Steve Vai song is "Tender Surrender", you know what I mean. The space between the notes counts... But back to paint ... As the paint dries, some of the magic brew evaporates. So if you spray too much, it dries like this. No worries, just more sanding out.

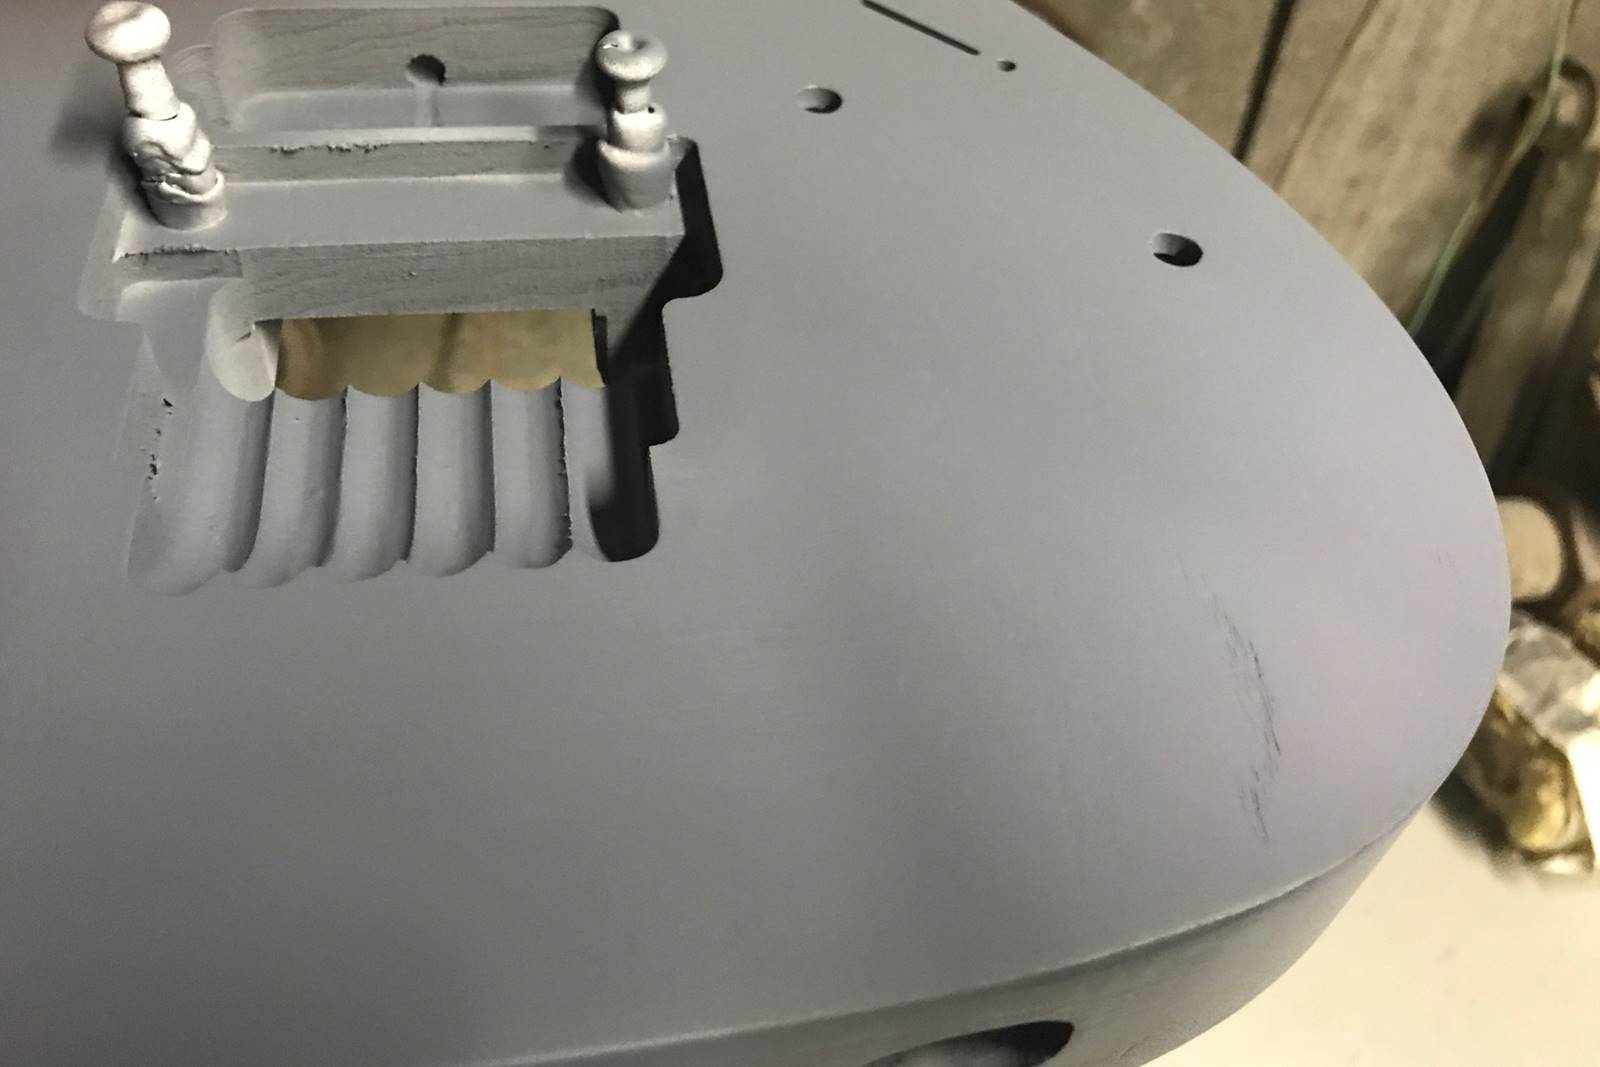
This is after spraying another coat of primer. I ran out of the filler primer, so just used the grey in some places. On the back, you can still see the grooves. They are getting smaller, so another sand step should do it. I put temporary plugs in the trem holes to keep the paint out. The trem inserts fit tightly, so paint in there is bad.

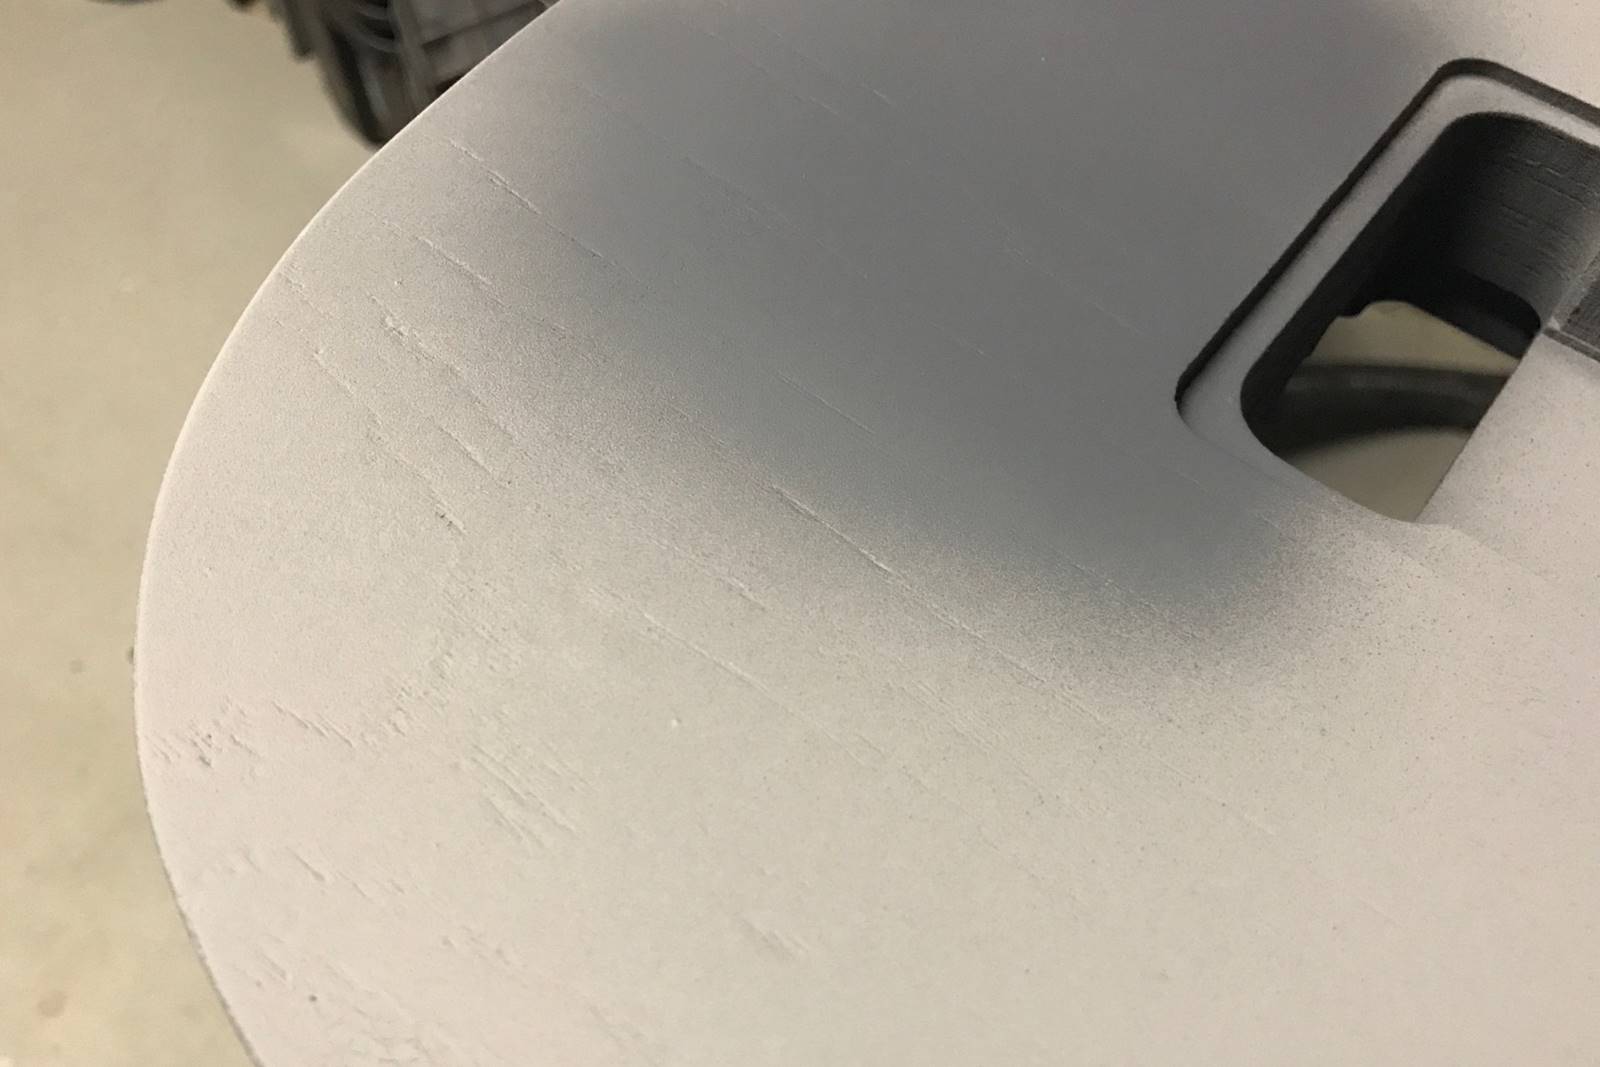
This is after another wet sand at 220 grit. A lot of paint sanded off. That leaves the grooves filled in nicely. Even though it looks like the grooves are still there, the guitar body is pretty smooth. The alternating shades of prime help to see what is happening.


I ran a coat of white primer next. The white really brings out the flaws. There were a few deep grooves that were easier to use some red spot filler. Then I'll sand and prime again. We are probably done with wet sanding since it is pretty close.


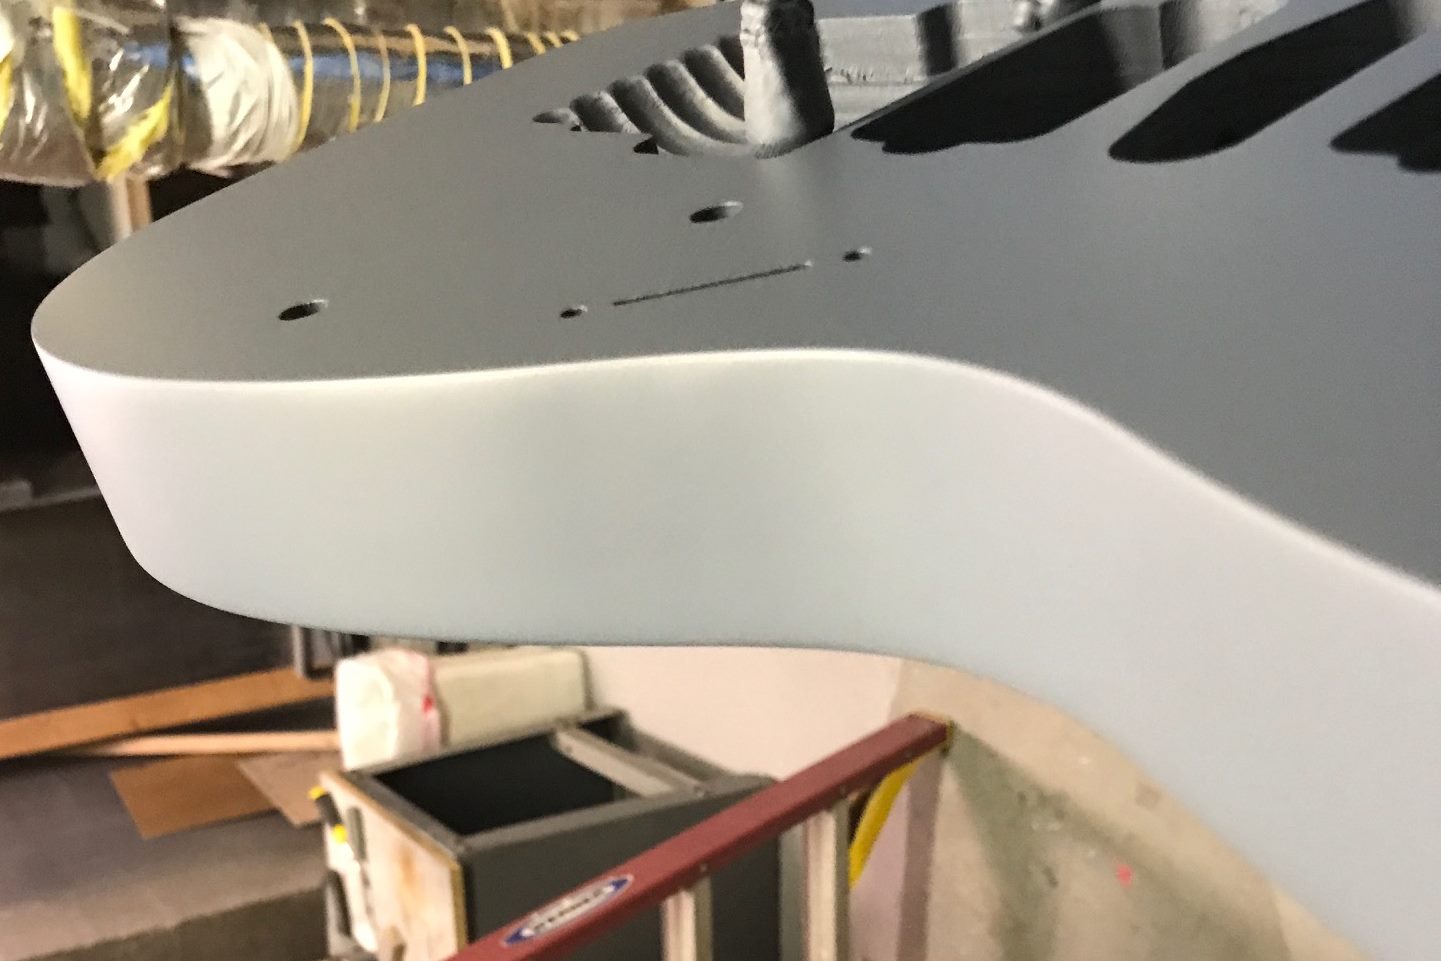
Here is where Dan's body stands after a few more sand/spray steps. It's looking good! Since we are painting this one white, like a JEM7V, I might prime with a light grey. Then I'll have a contrast when spraying the white. That lets me see if I missed a spot.
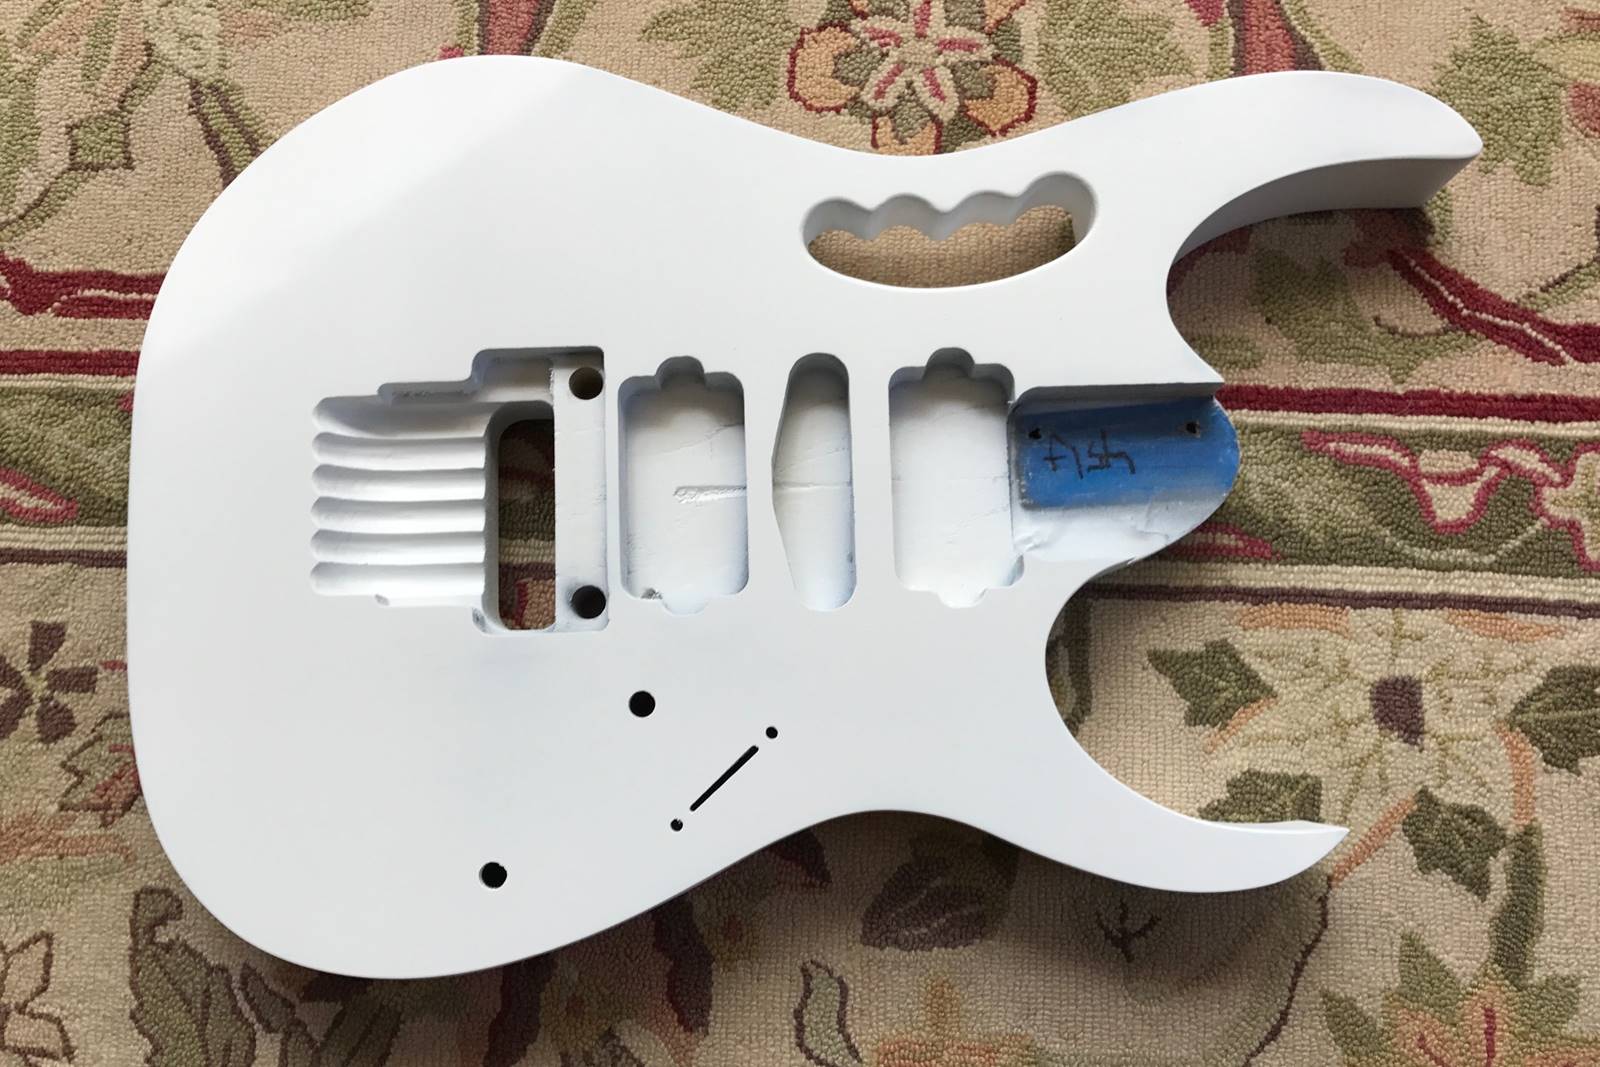

I did end up going with gray before the finish. When I wet sanded with 220 grit, there were still a few scratch marks. After wet sanding with 600 grit, it it super smooth. This one is close to spraying the finish white.

In the end, this is what a bunch of primed Ibanez replacement bodies look like. For a swirl painted guitar body, the process is a bit more forgiving. The swirl paint isn't super smooth, so a few little pits in the prime are OK. The clearcoat process will cover some of those. Dan's project is going to be white, like an Ibanez JEM7V. For solid colors, the prime should be smooth.

This was a lot of spray and sand steps for these guitar bodies! Two of these ended up getting painted yellow. Those are shown in this project.
I guess Dan is reading my blogs and asked about his pickguard. I discuss that here.
If anyone has a "how to" question, just let me know. I'll do what I can to address it in a blog.