Quest for a New Sander
Ever since I got the new planer back in 2014, I figured the last piece in the shop would be a nice sander. I use an orbital sander a lot, but that adds five or 10 minutes to each guitar body. The sander can do the entire surface at once, so it would be a lot better. One of the issues is that the Ibanez style JEM guitar bodies are slightly wider than 12 inches. The most economical sanders are 12 inches. So it's just shy. All that means is that I need to move to 15-16 inch equipment. But that comes with a premium in price, and size and weight.
So I finally was going to bite the bullet and get a Grizzly brand sander. I went with model Grizzly G1079R. If you read the history of Grizzly tools, the founder was a guitar guy. See page 2. Pretty neat. He wanted to have a way for small guitar shops to have economical access to good machines. The planer is frankly exceptional. It has a spiral cutterhead, with 72 indexable carbide inserts as the cutters. It really was nice. That let me start to reasonably making guitars with cool tops.
So before ordering one new, I took one more shot at seeing if there's anything used available on craigslist. Fortunately, I found one in Toledo, which is only 70 miles away. In a really crazy coincidence, my brother-in-law Zeph was in the midst of a 8,900 mile trek across the country - and back home to Long Beach. His leg on Friday was going from Cleveland to my house. What a coincidence, I met him in Toledo, and we loaded it into his truck. The thing is heavy, about 300 pounds.
Zeph's great idea was that we would "practice" loading it into the truck, to see if we would be able to unload it. We could have used the guys machine to just drop it in the flatbed, but I guess we need some practice. I could barely lift my side, but I did it. I Went on to spend 11 hours at the lake Saturday doing boat lift maintenance and most of the day Sunday moving my daughter (the orginal swirl paint inspiration) to a new apartment for her spring term. I'm tired!
Here are some shots loaded up.
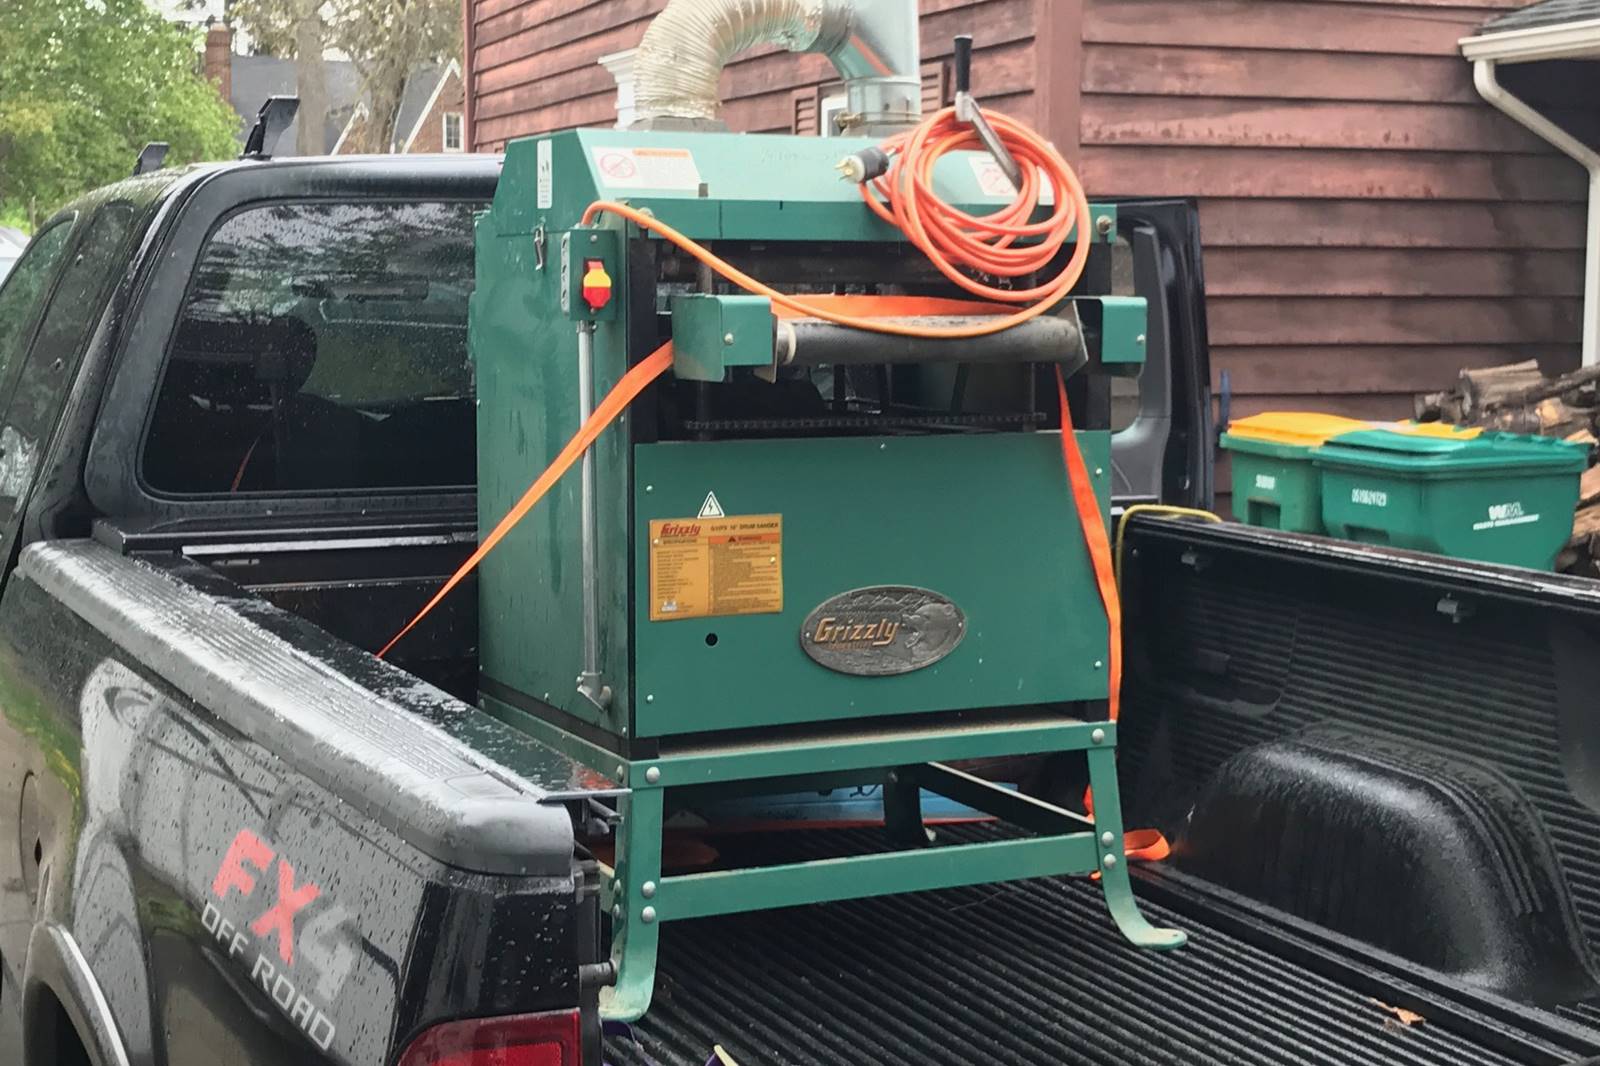
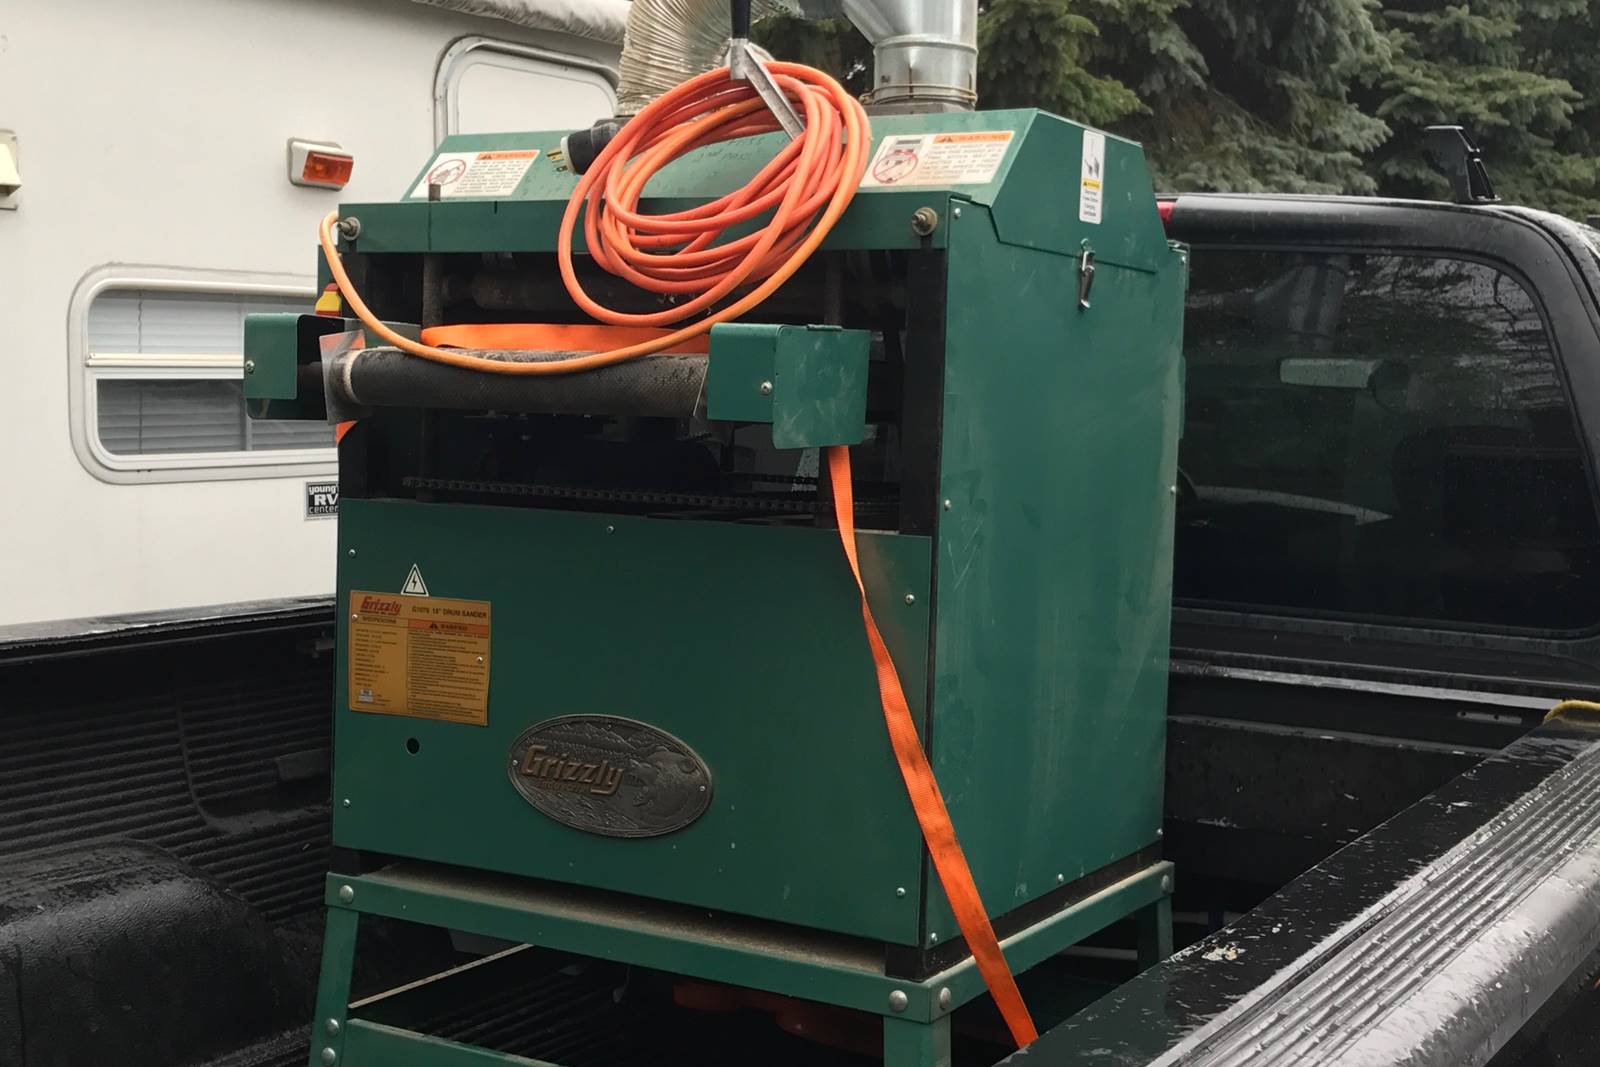
We got it unloaded and it's at the side of the house.
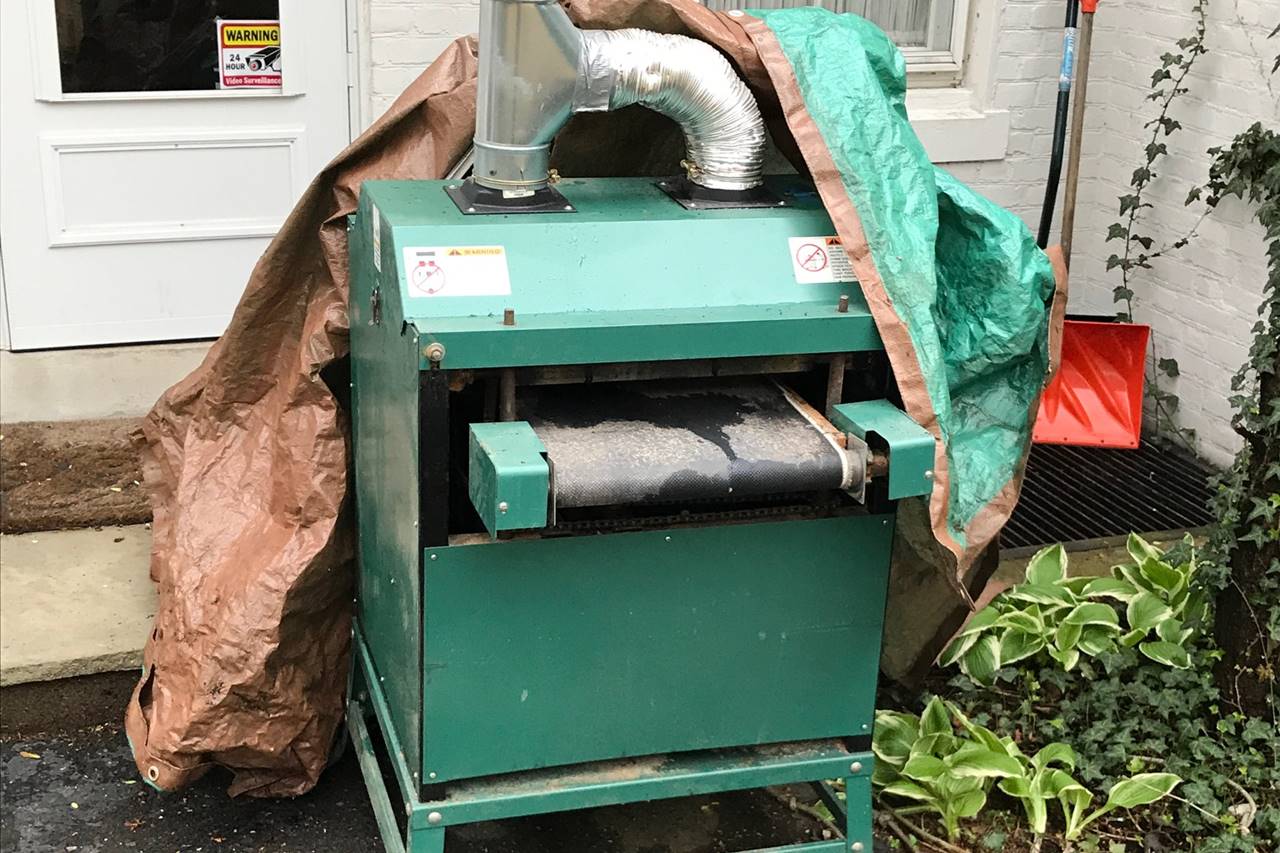
I think I'm going to just hire some movers to get that down into the shop. A flight of stairs seems like too much.
The planer and the sander use 220 V. I had already wired up an outlet for the planer. I think I can use the same outlet for the sander. It looks like has a nice set of dust ports too. We ran a few tests before the final purchase, it looks like it's going to be the turn-key thing to use. Nice!
I was a good move to hire movers. I guess the legs were "splayed", by design so they were really wide, and needed to come off. Word from the wife was this one was "the worst ever". I heard one mover wanted to give up. Another had some drive and thought they were part of the quest to help build "all these cool guitars". Nice!
In the end it is in place! I hope it fits the 220v receptacle I have in place for the planer.
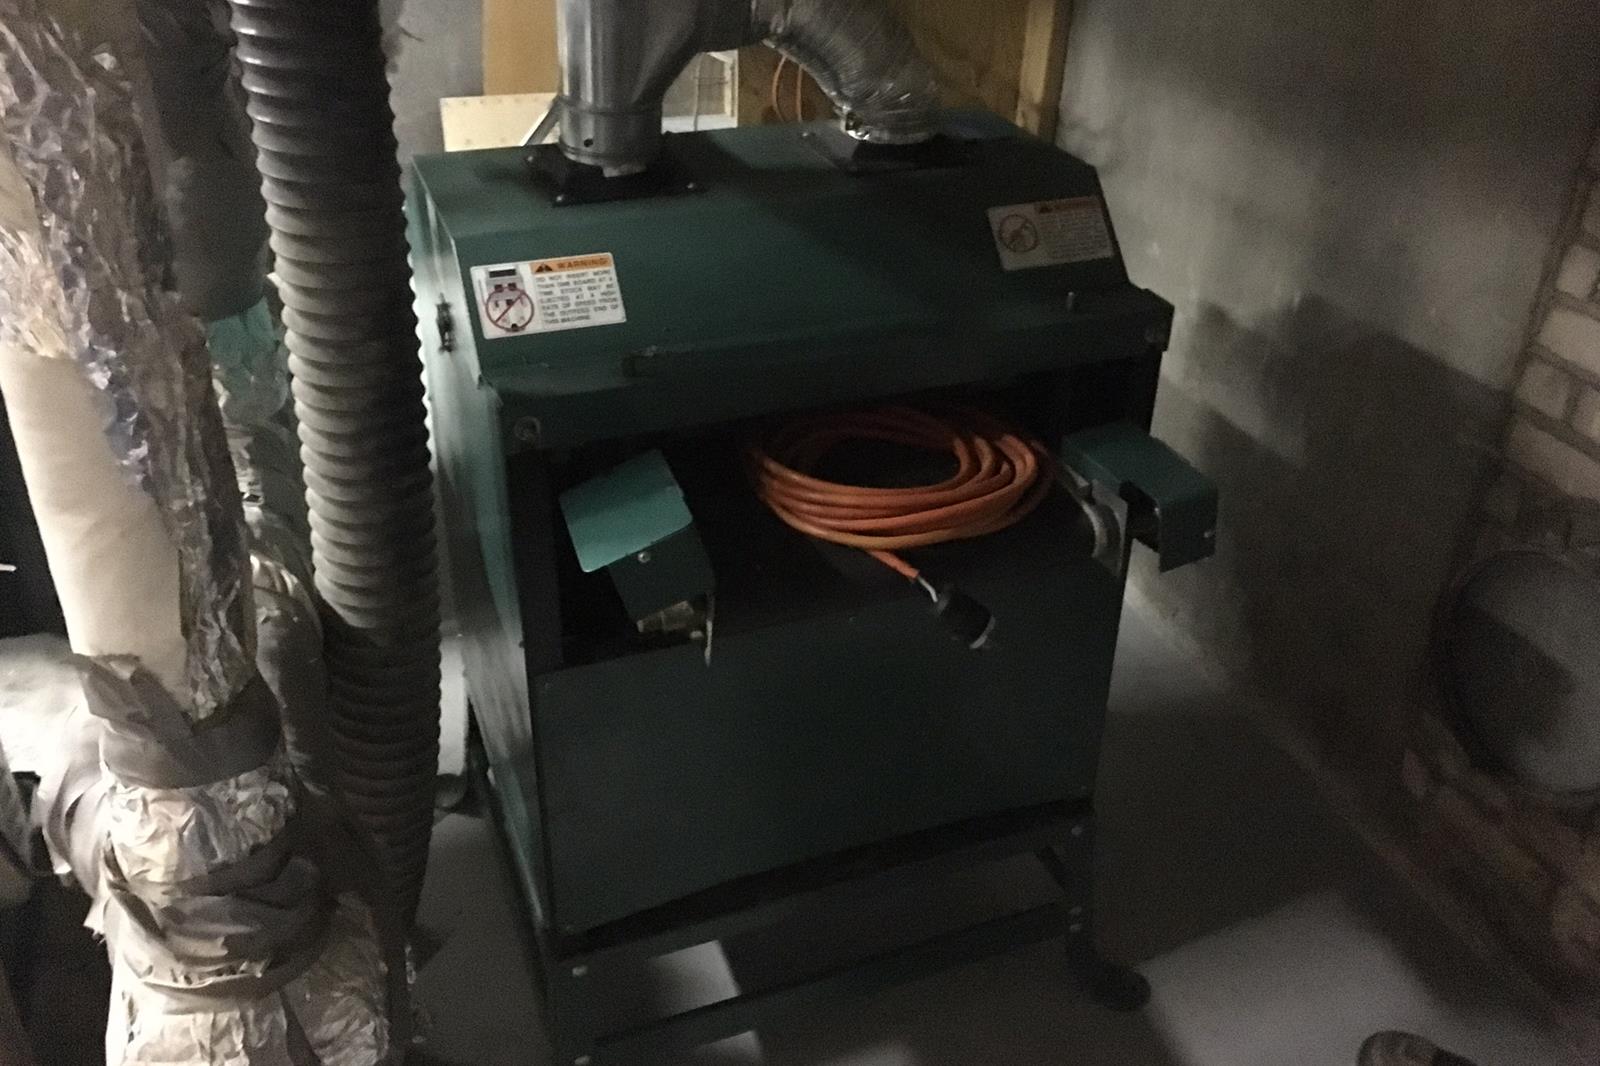
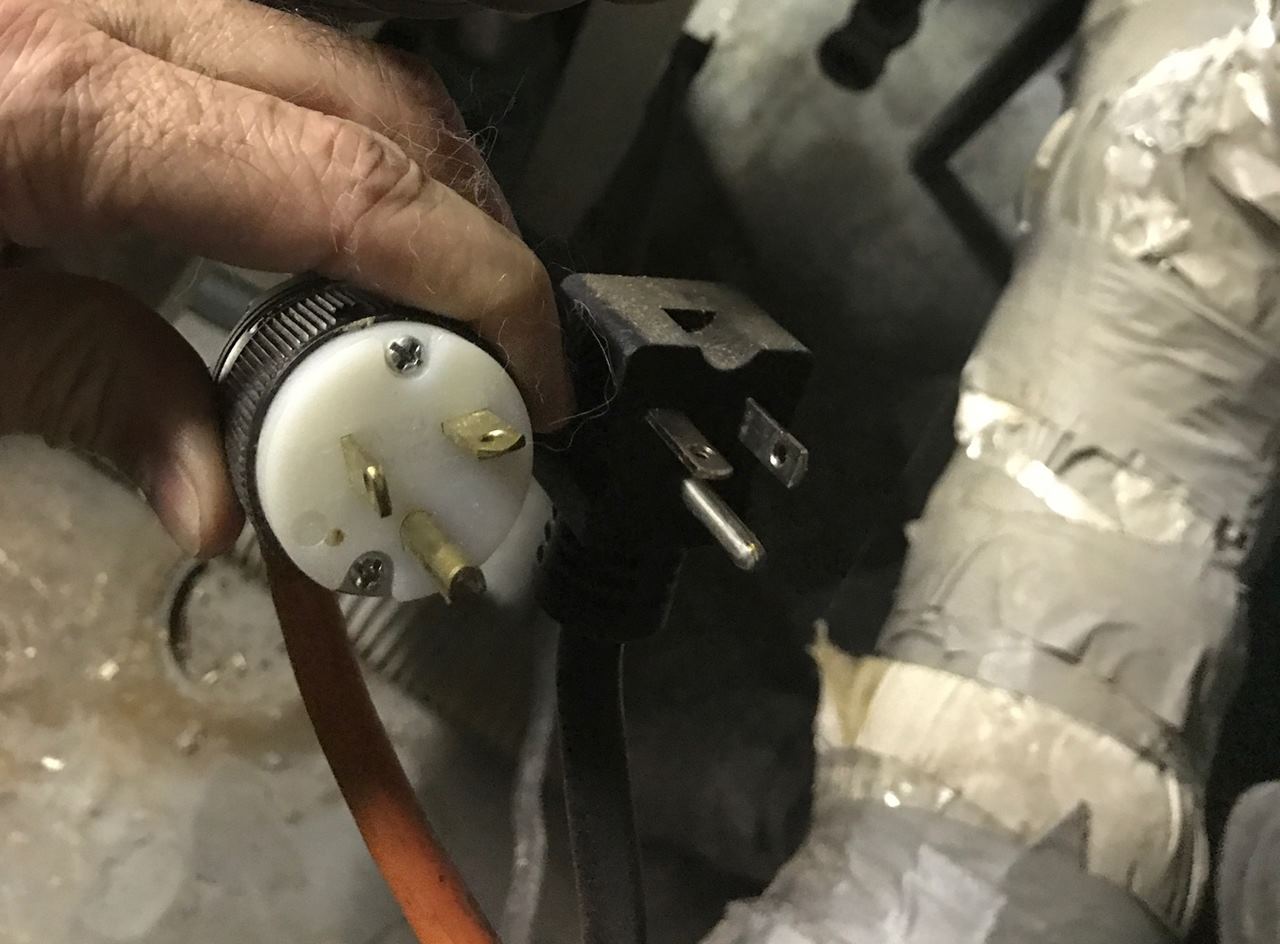
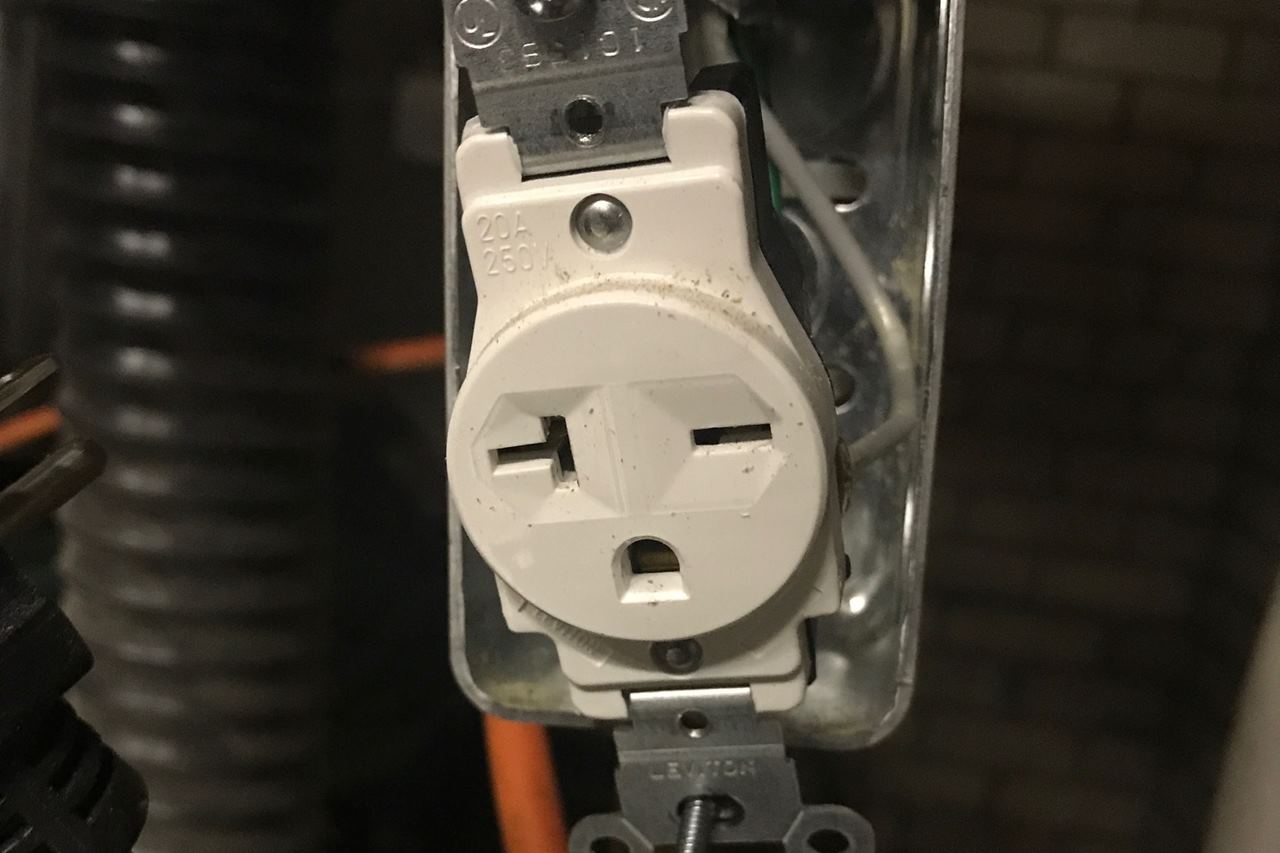
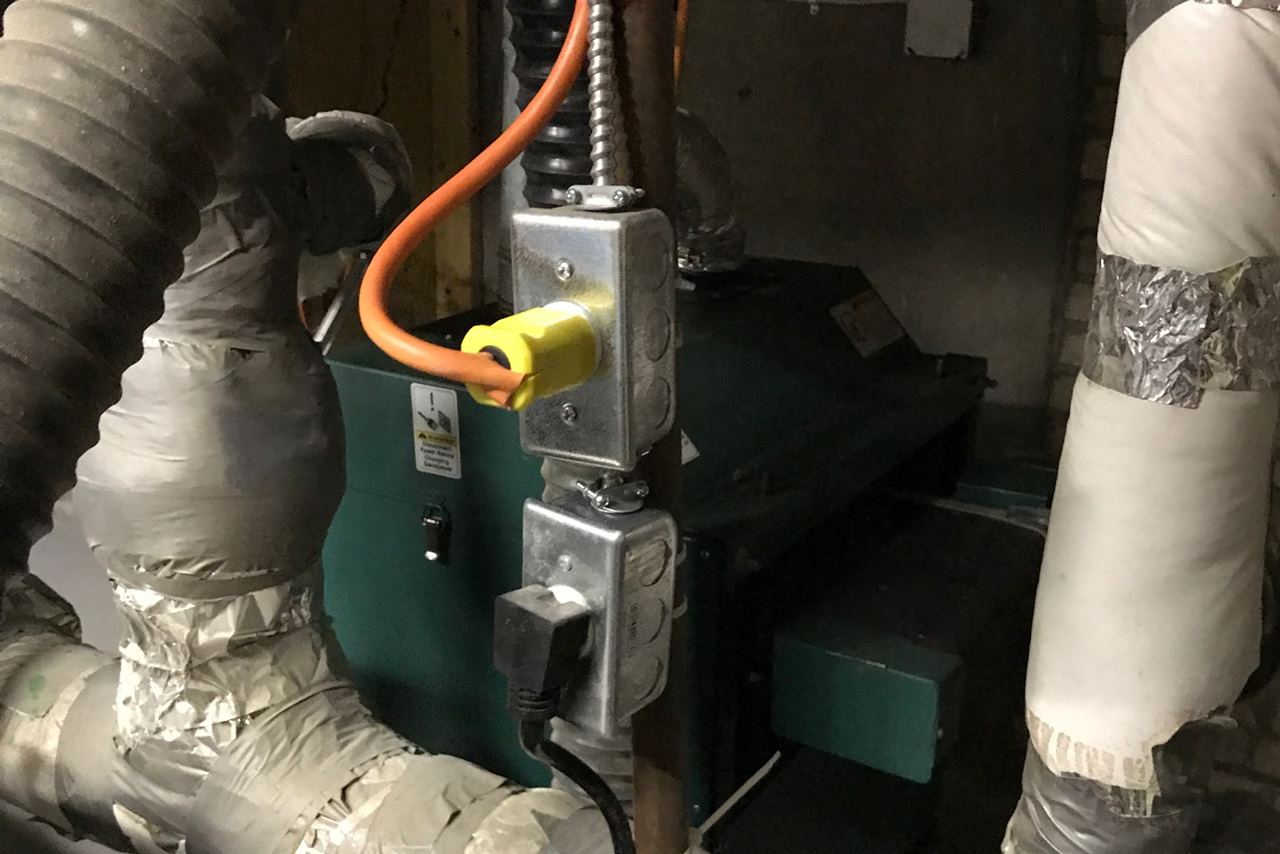
Well, the cord has some alternate type of 220v plug. I'm not sure why there are various types. I get that they need to be different than 110v, but this seems like overkill. Here are the two plug types and the receptacle in place.
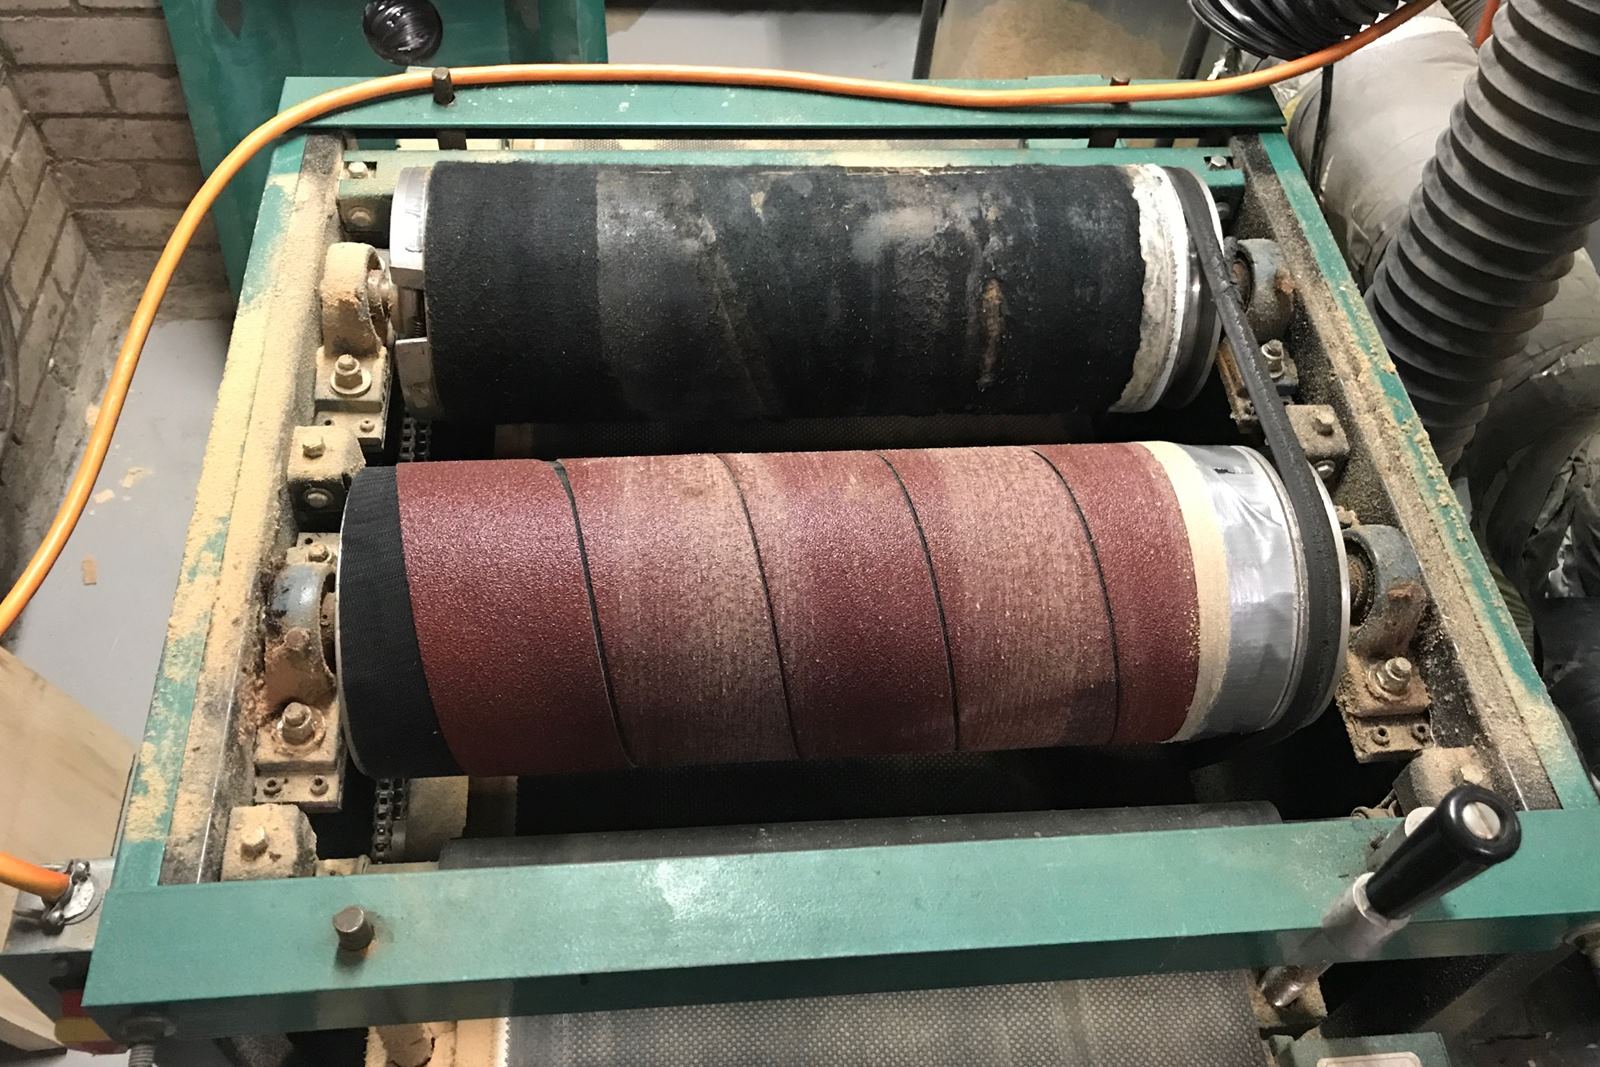
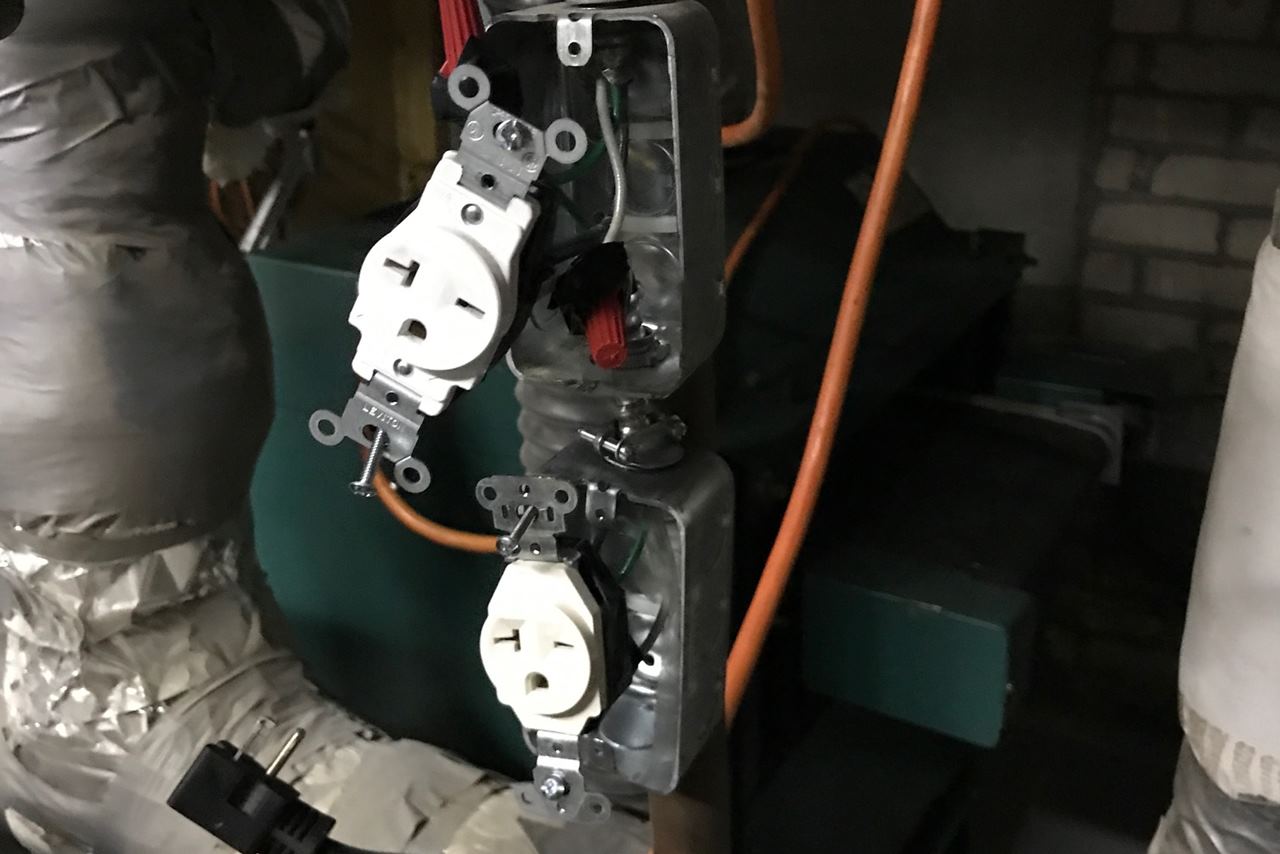
No worries. Another trip to the store to get parts. Now I'm set with two receptacles. Both machines (the sander and the planner) are plugged in. I cut down the long cord on the sander and replaced the plug with the kind I had. I figured two common receptacles was better. Now time to start sanding! I have some new sanding belts to install.
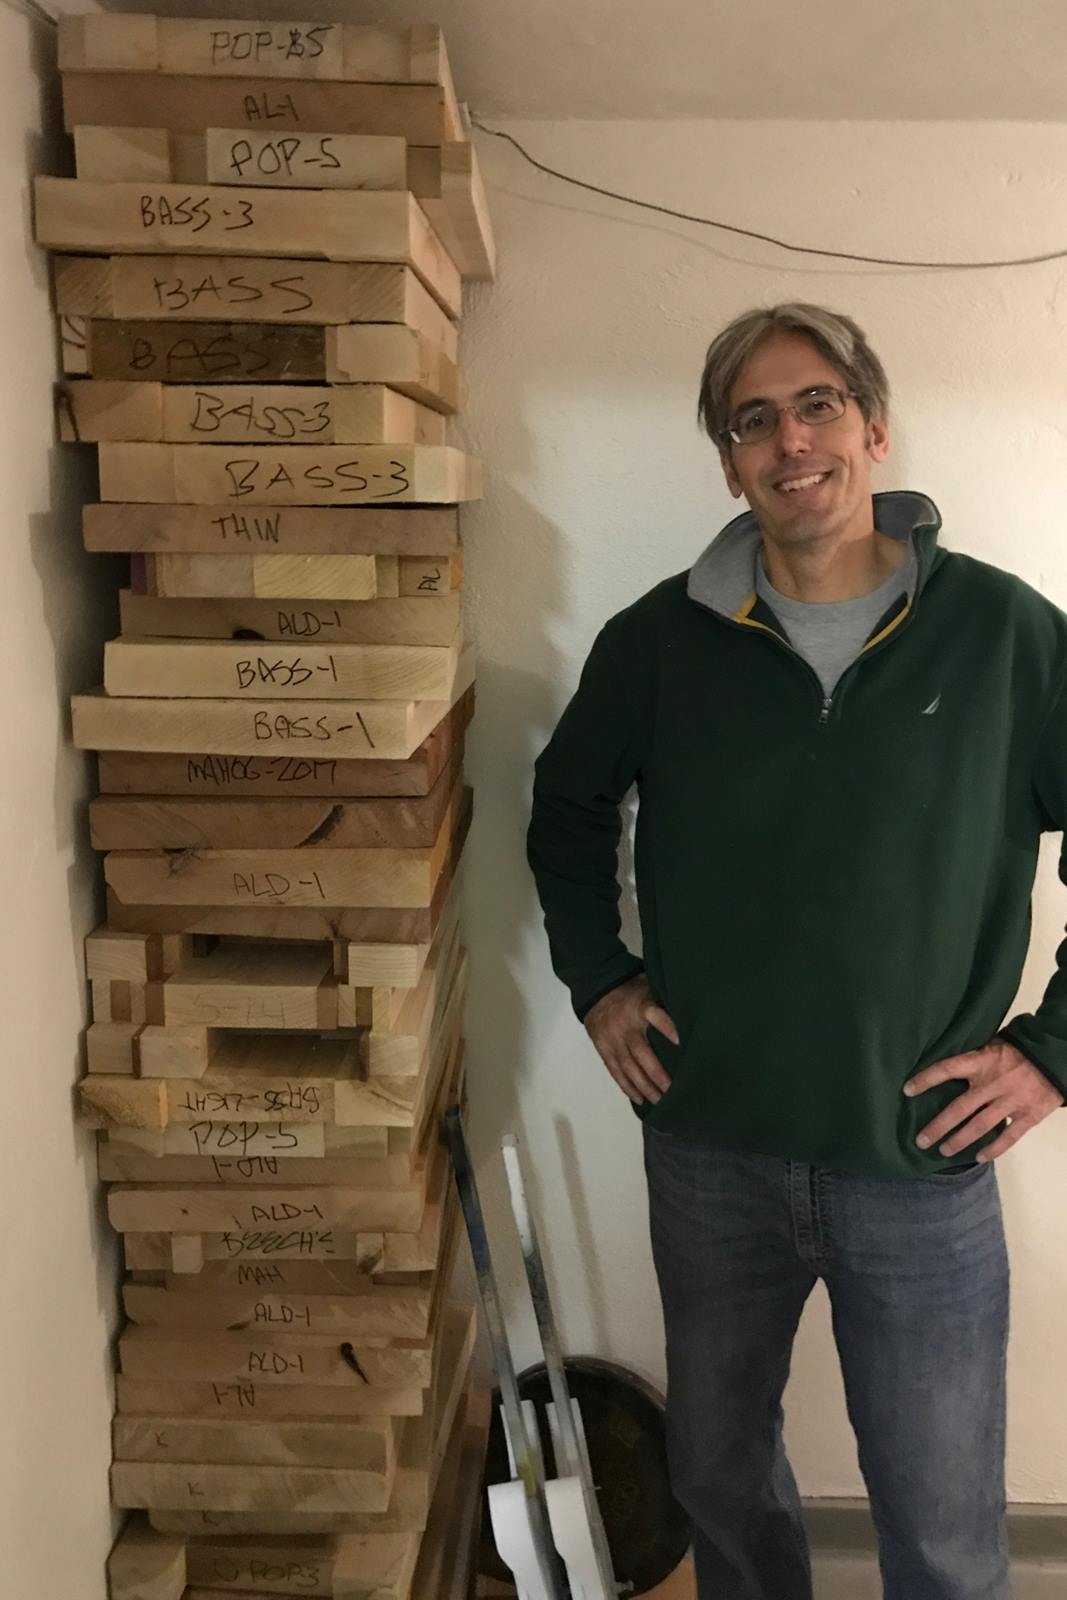
Here is a shot with a pile of wood banks that need planing and sanding. I look pretty rough, but that's me.
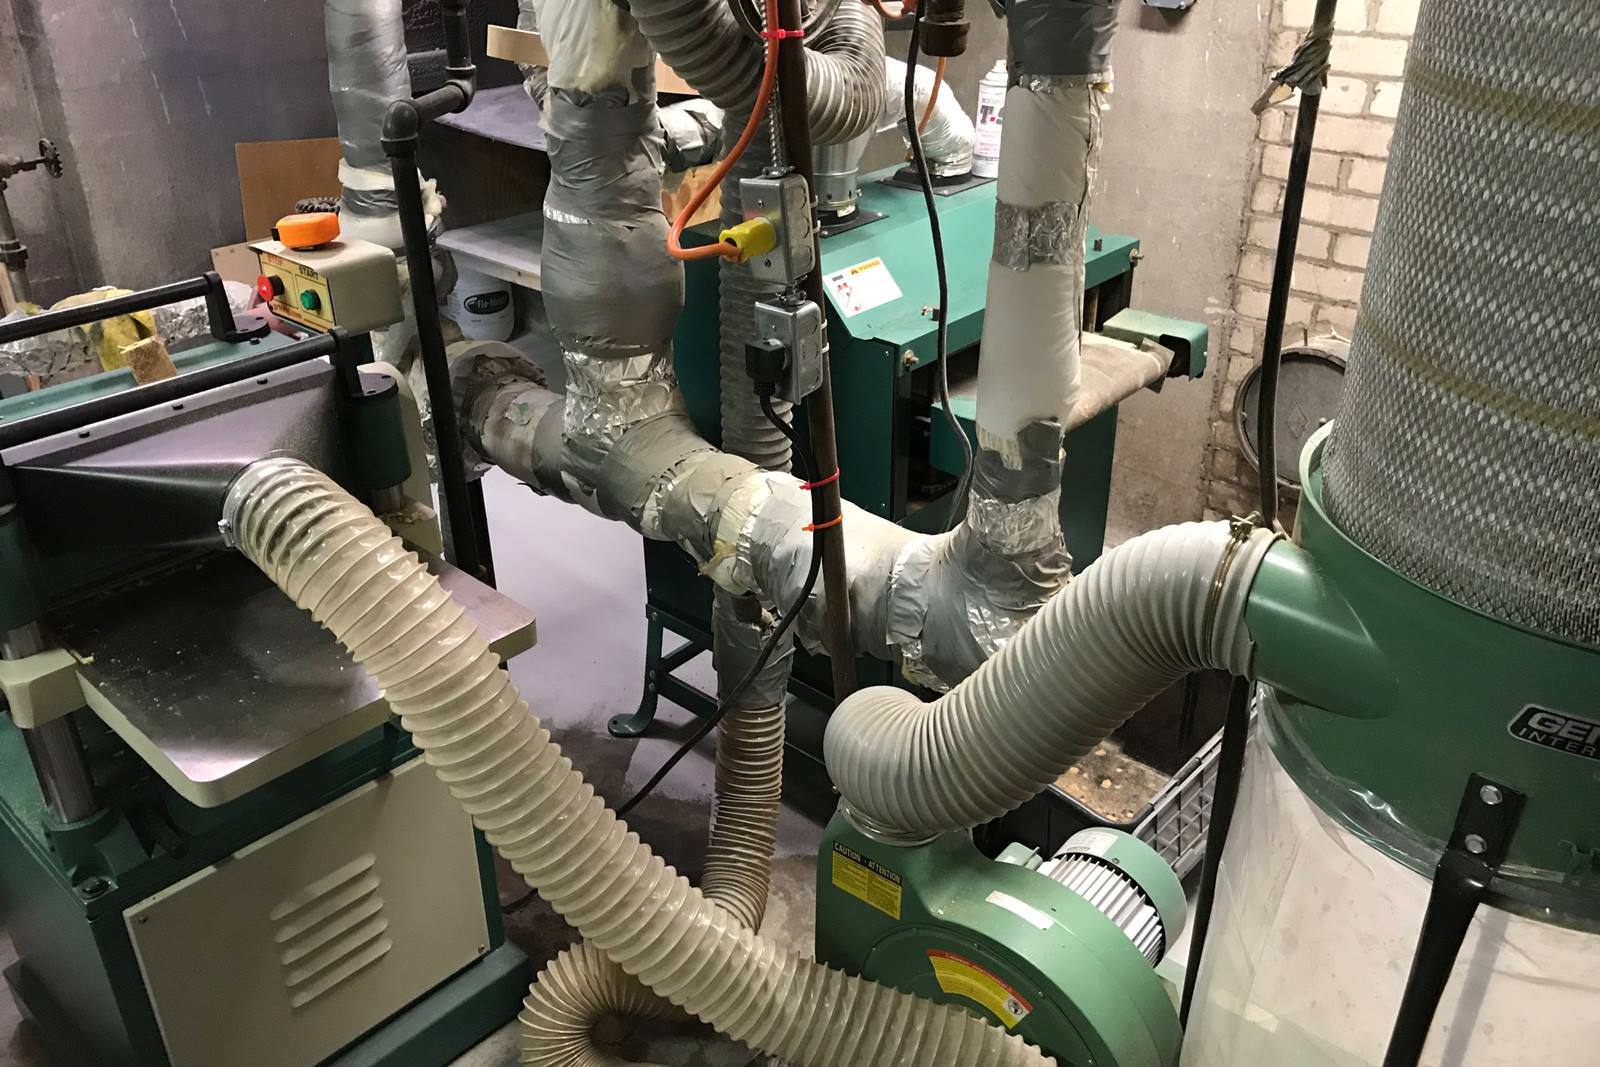
Here are a couple shots after instaling a new overhead light. The first one shows the planer and sander. The pipes are my old heating system. We have a hot water boiler.
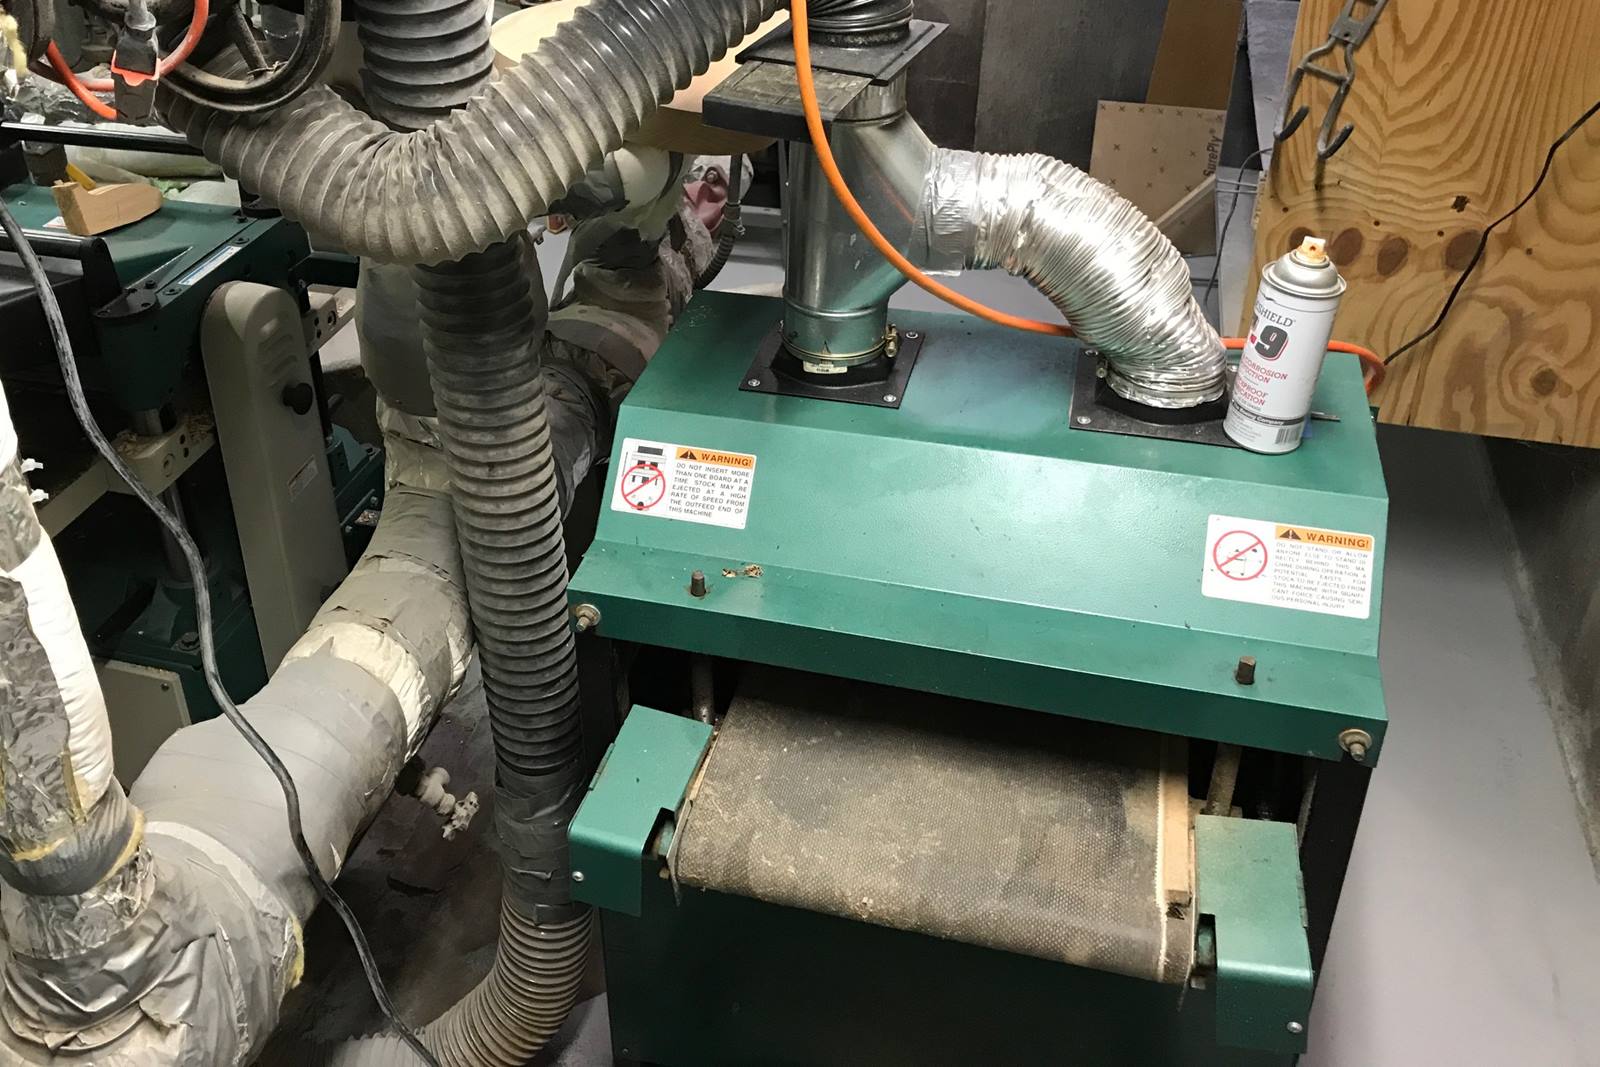
This guy took a lot more adjusting than I thought. I think I have it workable now. Here is a pic.